

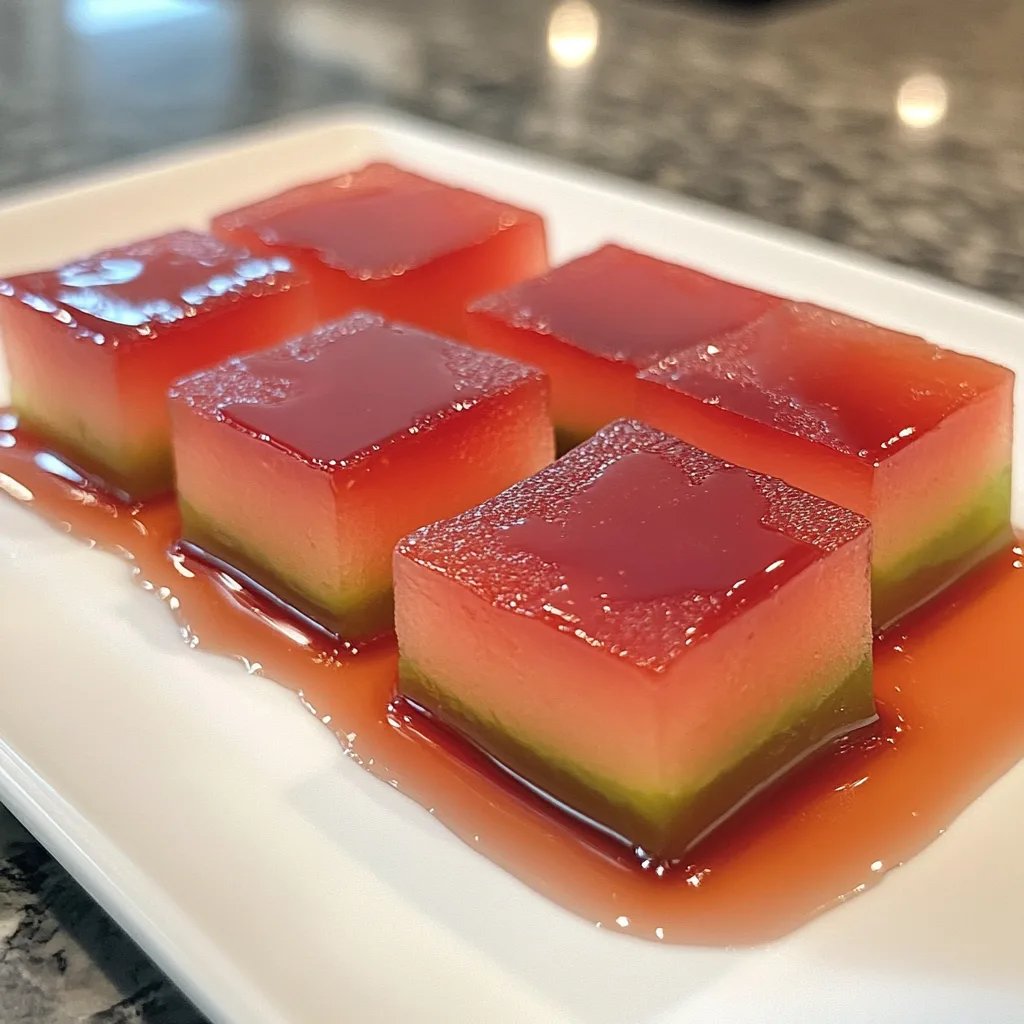
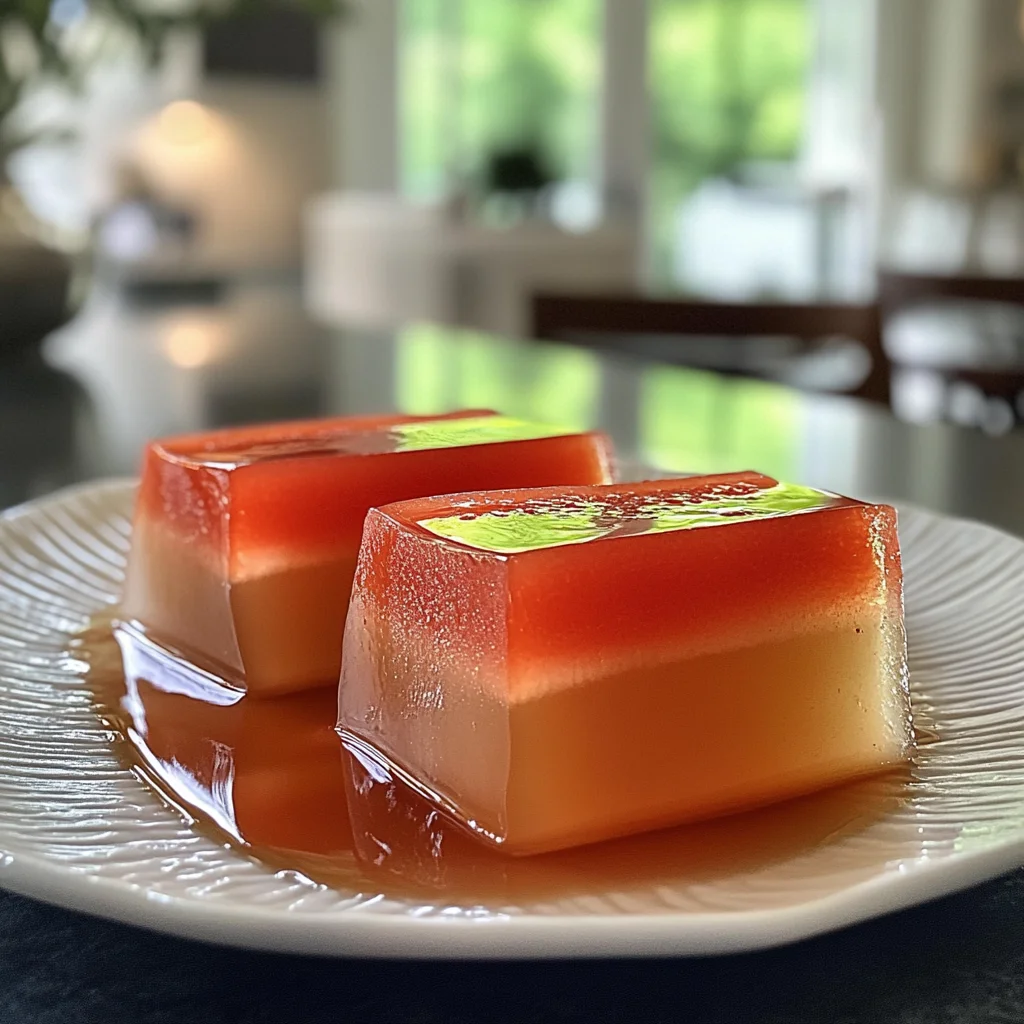
Imagine the sweet, juicy aroma of summer wafting through your kitchen as you transform humble watermelon rinds into delightful Watermelon Rind Jellies. The vibrant green and pink hues meld together, creating a playful treat that bursts with unexpected flavors, tickling your taste buds with each spoonful.
As you spread this unique jelly on warm toast or layer it into desserts, memories of sun-soaked picnics and lazy afternoons come rushing back. Perfect for those gatherings where laughter fills the air, this jelly promises to elevate any dessert table and keep everyone guessing about its secret ingredient. Get ready for a flavor adventure that will leave you craving more!
Why Is Watermelon Rind Jellies So Irresistibly Good?
Unique flavor profile: Transform leftover watermelon rinds into a delightful jelly that surprises your taste buds!
Easy to make: With just 30 minutes of prep and 60 minutes of cooking, you’ll be enjoying this delicious treat in no time.
Versatile usage: Perfect as a spread on toast, topping for desserts, or even a unique addition to charcuterie boards.
Customizable sweetness: Adjust the sugar to suit your palate, ensuring every jar is just right for you.
Crowd-pleaser: This refreshing jelly will definitely impress friends and family, making it an unforgettable addition to any gathering.
Watermelon Rind Jellies Ingredients
- 4 cups watermelon rind (peeled and cut into small pieces) – This is the star ingredient that gives the jelly its unique flavor and texture.
- 2 cups sugar (adjust to taste) – Sweeten your jellies to perfection; feel free to reduce for a less sugary treat.
- 1 cup water – Necessary for cooking the rinds and creating a smooth jelly consistency.
- 1 tablespoon lemon juice (freshly squeezed) – Adds a bright, tangy note that balances the sweetness beautifully.
- 1 box pectin (follow package instructions for quantity) – Essential for thickening your Watermelon Rind Jellies to the perfect spreadable consistency.
How to Make Watermelon Rind Jellies
1. Prepare the Rind: Remove the green skin from the watermelon rind and cut the white part into small pieces. This will help ensure a smooth texture in your jelly.
2. Soak the Rind: Soak the rind pieces in water for about 30 minutes. This step helps to soften them and bring out their natural sweetness.
For the Jelly:
3. Combine Ingredients: In a saucepan, combine the soaked watermelon rind, 1 cup water, and 1 tablespoon freshly squeezed lemon juice. Bring to a boil and let it simmer for 30 minutes until the mixture is tender.
4. Strain Mixture: Strain the mixture to extract the liquid, discarding the solids. You should be left with a fragrant, vibrant liquid that will form the base of your Watermelon Rind Jellies.
5. Add Sugar and Pectin: Return the liquid to the saucepan, add 2 cups sugar and 1 box pectin (following package instructions). Bring to a rolling boil and cook for 10 minutes while stirring constantly until it thickens.
Jar the Jelly:
6. Pour into Jars: Pour the hot jelly into sterilized jars using a ladle and canning funnel, leaving about 1/4 inch headspace at the top for expansion during processing.
7. Seal and Process: Seal the jars with lids and process them in a boiling water bath for 5-10 minutes to ensure they’re preserved properly.
8. Cool Down: Let the jars cool completely before storing them in a cool, dark place. This allows time for the flavors to meld beautifully.
Optional: For extra flavor, consider adding a pinch of cinnamon or ginger before boiling.
Exact quantities are listed in the recipe card below.
Expert Tips
- Choose the Right Rind: Use only the white part of the watermelon rind, discarding any green skin for a smoother jelly texture.
- Soaking Time Matters: Soak the rind pieces for at least 30 minutes to help soften them and enhance flavor extraction during cooking.
- Watch Sugar Levels: Adjust the sugar based on your taste preference; remember that the sweetness balances the tartness from the lemon juice in your Watermelon Rind Jellies.
- Strain Thoroughly: Be sure to strain the mixture well to avoid any solids in your jelly, ensuring a smooth, spreadable consistency.
- Boiling Technique: Stir constantly during the boiling process to prevent sticking or burning, which can affect the final texture.
- Seal Properly: Ensure each jar is sealed tightly after processing; this helps maintain freshness and prevents spoilage over time.
How to Store and Freeze Watermelon Rind Jellies
- Room Temperature: Keep unopened jars of Watermelon Rind Jellies in a cool, dark place for up to 1 year. Once opened, refrigerate immediately.
- Fridge: Opened jars should be stored in the fridge, where they can last for up to 3 weeks. Ensure the lid is tightly sealed to maintain freshness.
- Freezer: For long-term storage, freeze jelly in airtight containers. Properly sealed, it can last up to 6 months without losing flavor or texture.
- Reheating: If you prefer your jellies warm, gently heat them in a saucepan over low heat, stirring until smooth and spreadable.
Make Watermelon Rind Jellies Your Own
Feel free to get creative and customize this delightful jelly to suit your taste buds and dietary needs!
- Spicy Kick: Add 1 teaspoon of cayenne pepper to the mixture for a surprising heat. The warmth complements the sweetness beautifully, giving your jelly a unique twist that’s perfect for adventurous palates.
- Herbal Infusion: Incorporate 1 tablespoon of finely chopped fresh mint or basil for a refreshing herbal note. This addition brightens the flavor profile, making it an excellent spread for summer brunches or paired with cheeses.
- Citrus Zest: Grate the zest of one orange or lime into the mix before cooking. The zesty aroma will elevate your jelly, providing a vibrant citrus punch that dances on your tongue with every bite.
- Berry Blend: Stir in 1 cup of crushed raspberries or strawberries during the last five minutes of cooking. This fruity addition adds a luscious texture and a burst of color, making your jelly visually irresistible.
- Reduced Sugar: Substitute half the sugar with honey or agave syrup for a healthier alternative. This tweak not only reduces calories but also introduces a rich depth of flavor that’s just as delightful.
- Vanilla Essence: Add 1 teaspoon of vanilla extract while cooking for a warm, aromatic touch. The sweet notes of vanilla enhance the overall taste, making it feel like an indulgent treat you’ll want to enjoy all year round.
- Chili Flakes: Mix in ½ teaspoon of red chili flakes for a subtle yet exciting heat. This spicy element can create an unexpected flavor dimension that pairs wonderfully with savory dishes.
- Nuts & Seeds: Fold in ¼ cup of chopped nuts or seeds at the end for added crunch and nutrition. Not only does this introduce texture, but it also makes your jelly more substantial and satisfying as a topping.
Make Ahead Options
This Watermelon Rind Jellies recipe is a delightful choice for meal prep, allowing you to savor the taste of summer all year round. You can easily prepare the watermelon rind by removing the green skin and cutting the white part into small pieces up to 24 hours in advance. Soaking the rind pieces in water for about 30 minutes can also be done ahead of time, helping to infuse flavor. When you’re ready to cook, simply combine the soaked rind with water and lemon juice in a saucepan, bringing it to a boil and simmering for 30 minutes. After straining the mixture, add sugar and pectin, cooking for an additional 10 minutes before jarring. To maintain quality, ensure your jars are sterilized and seal them tightly after processing in a boiling water bath for 5-10 minutes. Store your beautiful jars of Watermelon Rind Jellies in a cool, dark place for up to 3 months until you’re ready to enjoy them on toast or as a sweet addition to desserts!
Watermelon Rind Jellies Recipe FAQs
What type of watermelon should I use for the jelly?
For the best flavor and texture, choose a ripe, sweet watermelon. Look for one with a uniform color and a hollow sound when tapped. The rinds from seedless watermelons often yield a milder taste, making them an excellent choice for your jellies.
Can I adjust the sugar in the recipe?
Absolutely! The 2 cups of sugar is a guideline, and you can adjust it to suit your taste preferences. If you prefer a less sweet jelly, start with 1.5 cups and taste before adding more. Just keep in mind that sugar also helps with preservation and texture.
How long can I store the watermelon rind jelly?
Once properly sealed in sterilized jars, your delicious watermelon rind jellies can be stored in a cool, dark place for up to one year. After opening a jar, keep it in the refrigerator and enjoy within 3-4 weeks for the best quality.
Can I freeze watermelon rind jelly?
Yes! If you’d like to preserve your jelly beyond a year, freezing is an option. Pour cooled jelly into freezer-safe containers or jars, leaving some headspace for expansion. It will maintain its quality for up to six months in the freezer.
What should I serve with watermelon rind jelly?
This unique jelly is fantastic on toast or biscuits but also adds a delightful twist to desserts like cheesecake or as a topping for yogurt. Pair it with creamy cheeses on a charcuterie board for an unexpected flavor burst!
What if my jelly doesn’t set properly?
If your watermelon rind jelly hasn’t set after cooling completely, it may need more time or additional pectin. You can reheat the mixture gently, adding extra pectin according to package instructions, and boiling it again while stirring consistently for another 5-10 minutes until it reaches the desired consistency.
Watermelon Rind Jellies
Ingredients
Method
- Remove the green skin from the watermelon rind and cut the white part into small pieces.
- Soak the rind pieces in water for about 30 minutes.
- In a saucepan, combine the soaked watermelon rind, water, and lemon juice. Bring to a boil and simmer for 30 minutes.
- Strain the mixture to extract the liquid, discarding the solids.
- Return the liquid to the saucepan, add sugar and pectin, and bring to a rolling boil. Cook for 10 minutes, stirring constantly.
- Pour the hot jelly into sterilized jars using a ladle and canning funnel, leaving about 1/4 inch headspace.
- Seal the jars with lids and process in a boiling water bath for 5-10 minutes.
- Let the jars cool completely before storing them in a cool, dark place.


Leave a Comment