

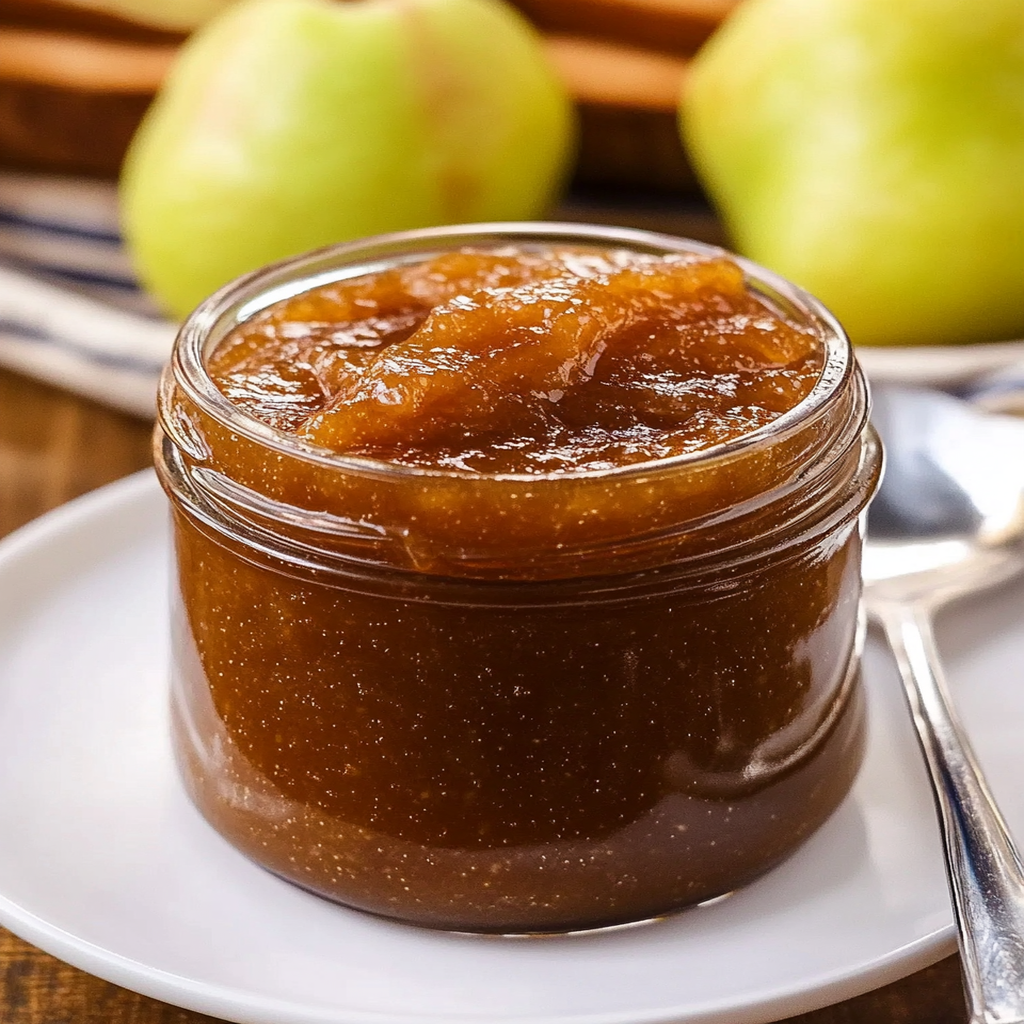
The moment you pop open a jar of pear preserves, you’re greeted by the sweet aroma of sun-kissed pears mingling with a hint of spice. Each spoonful transports you to an orchard in full bloom, where the air is filled with laughter and the gentle rustle of leaves. It’s not just a condiment; it’s an experience that dances on your taste buds and warms your heart.
As I reminisce about my grandmother’s kitchen, I can practically hear her cackling away while stirring her bubbling pot of pear preserves. It was our secret project every fall, and let me tell you, nothing says “I love you” like a homemade jar of jam. mango crumble dessert pairing Whether you’re spreading it on toast for breakfast or dolloping it over vanilla ice cream for dessert, this pear preserves recipe will have everyone asking for seconds and thirds. For more inspiration, check out this cinnamon pear walnut crumble recipe.
Why You'll Love This Recipe
- The ease of preparation means you’ll be enjoying this sweet treat in no time.
- With its delightful balance of sweetness and spice, these preserves elevate any dish.
- The vibrant golden color makes for stunning presentation at brunch or family gatherings.
- Plus, they’re versatile enough to pair beautifully with meats, cheeses, or even yogurt!
Ingredients for pear preserves recipe
Here’s what you’ll need to make this delicious dish:
- Fresh Pears: Use ripe pears like Bartlett or Anjou for their natural sweetness and smooth texture.
- Sugar: Granulated sugar helps preserve the fruit while balancing the tartness.
- Lemon Juice: Freshly squeezed lemon juice adds acidity that brightens the flavors.
- Cinnamon: A dash of ground cinnamon brings warmth and depth to the preserves.
- Water: Just enough to help cook down the pears into a luscious consistency.
The full ingredients list, including measurements, is provided in the recipe card directly below.
How to Make pear preserves recipe
Follow these simple steps to prepare this delicious dish:
Step 1: Prepare Your Pears
Begin by washing and peeling your fresh pears. Remove the core and slice them into small chunks. This will help them cook down evenly and blend beautifully into your preserves.
Step 2: Combine Ingredients
In a large pot, combine your sliced pears with sugar, lemon juice, cinnamon, and just enough water to cover the bottom of the pot. Stir everything together until well mixed.
Step 3: Cook Down the Mixture
Place your pot over medium heat. Let it simmer gently, stirring occasionally as the pears release their juices. Keep an eye on it so nothing sticks—trust me, burnt jam is not a flavor anyone enjoys!
Step 4: Mash for Texture
Once simmering for about 15-20 minutes (you’ll know it’s ready when those aromas are making you swoon), grab a potato masher and mash some of the mixture. This will create a delightful chunky texture while still allowing some pear pieces to shine through.
Step 5: Test Consistency
To check if your pear preserves are done cooking, drop a spoonful onto a cold plate; if it holds its shape after cooling down slightly, you’re good to go! If not, keep cooking for another few minutes.
Step 6: Jar Your Preserves
Carefully ladle your hot pear preserves into sterilized jars while still warm. Seal them tightly and let them cool at room temperature before storing them in the refrigerator or pantry.
Transfer to plates and enjoy this sweet treat on toast or as part of an elegant cheese platter!
And there you have it! This pear preserves recipe not only captures autumn’s essence but also fills your home with warmth and joy—just like my grandmother’s laughter echoed through her kitchen all those years ago. So gather those ingredients and start preserving memories today!
You Must Know
- This pear preserves recipe is not just about preserving fruit; it’s a delightful adventure in flavor.
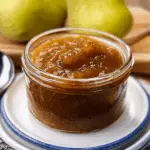
- The sweet aroma fills your kitchen, and the vibrant jars are like little treasures waiting to brighten your breakfast table.
- Perfect for spreading on toast or drizzling over desserts, this recipe will quickly become a favorite.
Perfecting the Cooking Process
To make the best pear preserves, start by preparing your pears and cooking them down gently. While they soften, prepare your jars for canning. This efficient sequence ensures you capture all that juicy goodness without any waste.
Add Your Touch
Feel free to customize this pear preserves recipe by adding spices like cinnamon or ginger for an extra kick. You could also swap out some pears for apples for a unique twist that will surprise your taste buds!
Storing & Reheating
Store your pear preserves in sterilized jars in a cool, dark place. Once opened, keep them in the fridge and enjoy within two weeks. You won’t need to reheat them; just spread and savor!
Chef's Helpful Tips
- To make the most of your pear preserves recipe, remember to choose ripe yet firm pears for the best texture.
- Don’t skip sterilizing jars; it prevents spoilage and enhances shelf life.
- Taste as you cook to find that perfect balance of sweetness!
Sometimes I find myself reminiscing about the first batch of pear preserves I made with my grandmother. Her laughter mixed with the sweet scent of cooking fruit made that day unforgettable—a true kitchen adventure!
FAQs :
What are the key ingredients for a pear preserves recipe?
For a delicious pear preserves recipe, you’ll need ripe pears, sugar, lemon juice, and pectin. The pears should be peeled, cored, and chopped into small pieces to ensure they cook evenly. The sugar acts as a preservative and adds sweetness, while lemon juice enhances the flavor and helps the mixture gel when combined with pectin. You can also add spices like cinnamon or nutmeg for extra flavor. These simple ingredients combine to create a delightful preserve that captures the essence of fresh pears.
How long do homemade pear preserves last?
Homemade pear preserves can last up to one year when stored properly. Make sure to keep them in sterilized jars and seal them tightly to prevent air from entering. Store your jars in a cool, dark place away from direct sunlight. Once opened, you should refrigerate the jar and consume the preserves within a few weeks for optimal taste. Following these storage tips will help you enjoy your pear preserves recipe long after you’ve made it.
Can I use other fruits in my pear preserves recipe?
Yes! You can easily incorporate other fruits into your pear preserves recipe for added flavor and texture. Fruits like apples, peaches, or even berries work well alongside pears. Just be mindful of the cooking times as different fruits may require varying amounts of time to soften. Mixing fruits not only enhances the taste but also creates unique combinations that elevate your homemade preserves to new heights.
Is it necessary to use pectin in my pear preserves recipe?
While pectin is not strictly necessary for making pear preserves, it does help achieve a thicker consistency and improve gelling. If you prefer a thinner preserve or want a more natural approach, you can omit pectin and rely on the natural sugars present in the pears for thickening. However, without pectin, you’ll need to cook the mixture longer to reach your desired consistency. Experimenting with both methods can lead you to your perfect pear preserves recipe.
Conclusion for pear preserves recipe :
In conclusion, mastering a pear preserves recipe is both rewarding and delicious. By selecting ripe pears and balancing sugar with lemon juice, you create a sweet treat that captures the essence of fall harvests. Don’t hesitate to experiment by adding spices or combining different fruits for unique flavors. infuse water with fruit flavors smoothies with fruit preserves Proper storage will ensure your homemade preserves stay fresh throughout the year. Enjoy every spoonful of this delightful preserve on toast or as an accompaniment to desserts!
Pear Preserves
- Total Time: 35 minutes
- Yield: Approximately 24 servings (about one jar) 1x
Description
Pear preserves are a delightful way to enjoy the essence of ripe, juicy pears with a hint of warm spice. This easy recipe transforms fresh fruit into a luscious spread that’s perfect for breakfast, dessert, or as an elegant addition to any cheese platter. With its inviting aroma and vibrant color, this preserve is sure to impress your family and friends. Spread it on toast or drizzle over vanilla ice cream for a sweet treat that captures the essence of fall.
Ingredients
- 4 cups ripe pears, peeled and chopped
- 2 cups granulated sugar
- 1/4 cup freshly squeezed lemon juice
- 1 teaspoon ground cinnamon
- 1/2 cup water
Instructions
- Prepare Your Pears: Wash, peel, core, and chop the pears into small chunks.
- Combine Ingredients: In a large pot, mix chopped pears with sugar, lemon juice, cinnamon, and water.
- Cook Down the Mixture: Heat over medium heat until simmering. Stir occasionally for about 15–20 minutes.
- Mash for Texture: Use a potato masher to achieve your desired chunky consistency.
- Test Consistency: Place a spoonful on a cold plate; if it holds shape after cooling slightly, it’s ready.
- Jar Your Preserves: Ladle hot preserves into sterilized jars and seal tightly.
- Prep Time: 15 minutes
- Cook Time: 20 minutes
- Category: Condiment
- Method: Canning
- Cuisine: American
Nutrition
- Serving Size: 15g
- Calories: 50
- Sugar: 13g
- Sodium: 0mg
- Fat: 0g
- Saturated Fat: 0g
- Unsaturated Fat: 0g
- Trans Fat: 0g
- Carbohydrates: 14g
- Fiber: 0g
- Protein: 0g
- Cholesterol: 0mg

Leave a Comment